Hope’s How-To: Build a Dry Lay Stone Bench
Written by H, Posted in Gardening, Hope's How-To
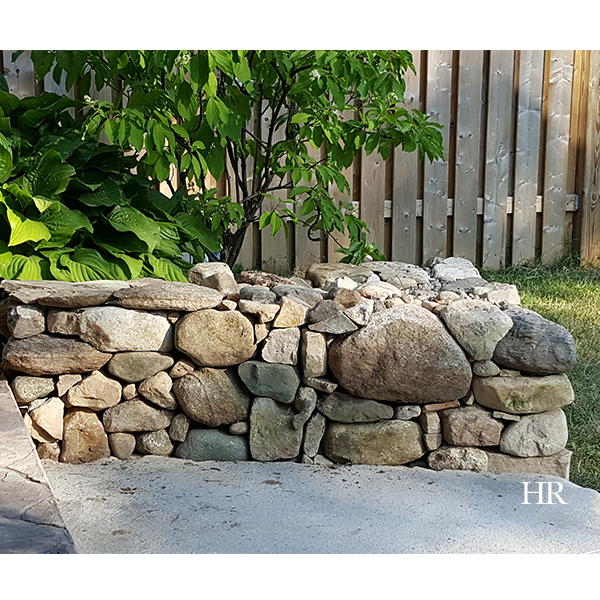
We’ve had several compliments and questions regarding Wes’s masonry style when it comes to the dry lay stone benches he has been creating in our yard. He’s working on the third bench now to round out the project, and I can’t wait until it’s complete!
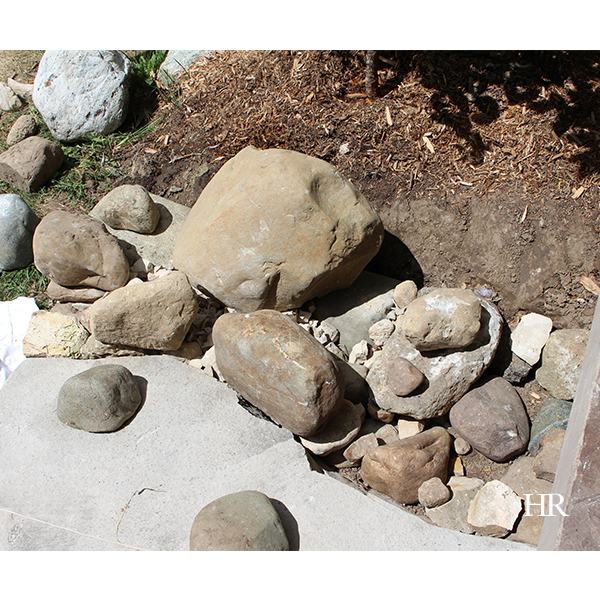
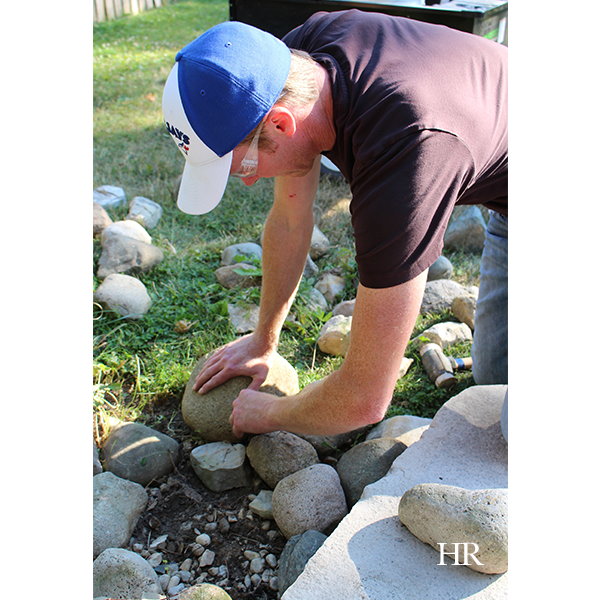
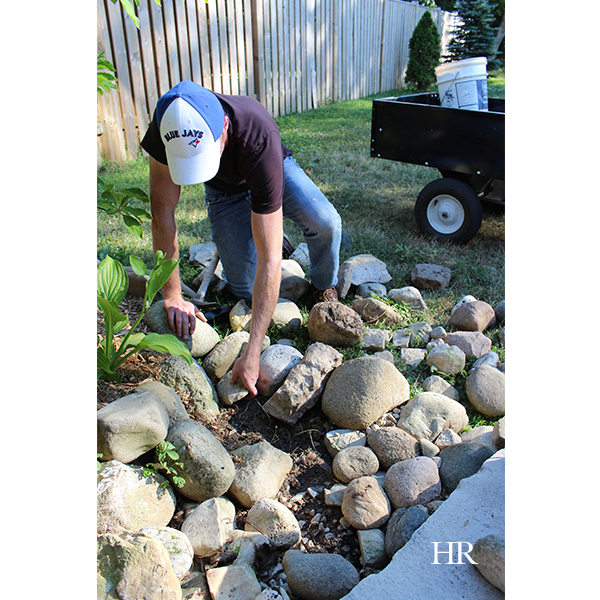
The above photo is before things really got started on the dry lay stone bench. Previously, we had a pile of large stones between the garden and slab stone step off our patio. To get the ground ready, Wes raked and levelled out the earth, and put down some gravel.
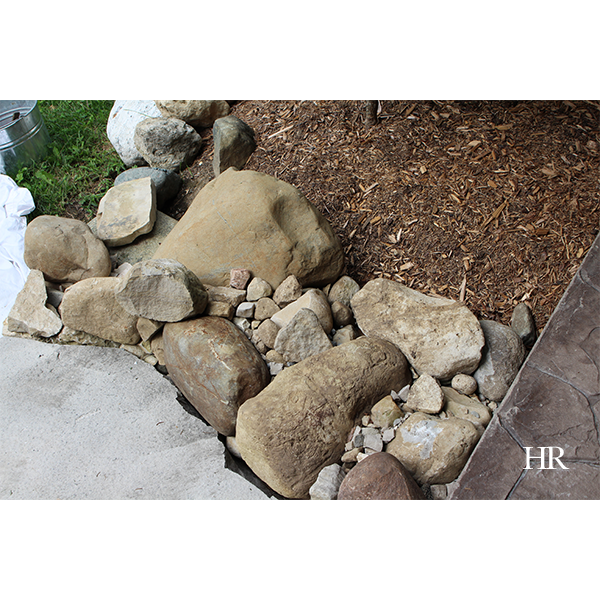
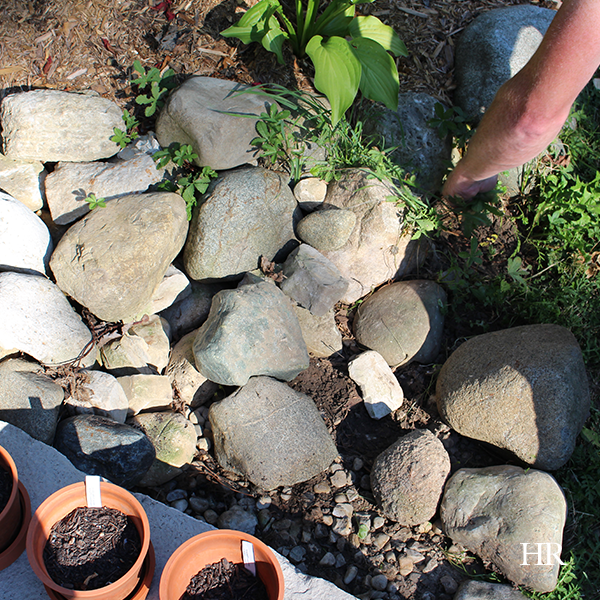
If you’re looking to create a DIY dry lay stone bench of your own, you will want to choose the stones for your bench based on their function in the wall system. In the above photo, you can see how Wes has carefully selected larger anchor stones for around the border of the stone bench, and used smaller, filler stones for the centre of the bench.
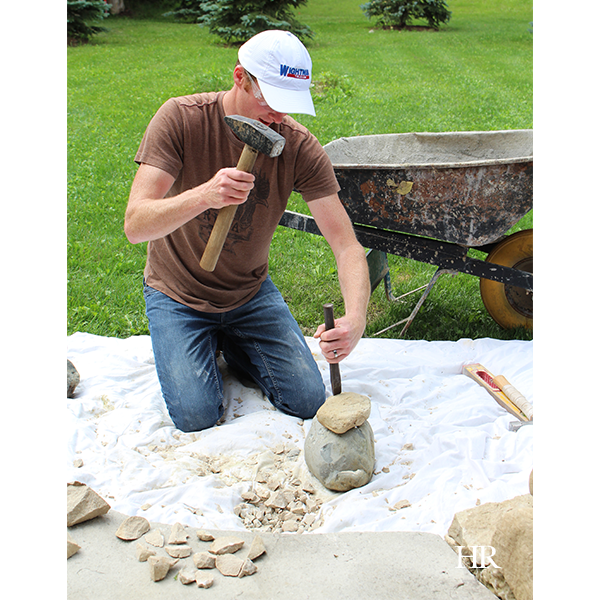
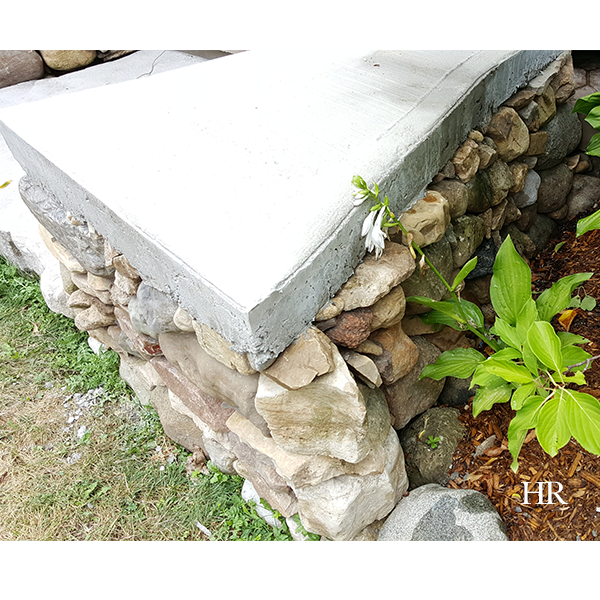
Choose a stone according to its density. For example, if your DIY bench requires custom stone cutting, ala the photo above, you’ll want to choose limestone to work with it because it cuts more easily than other rock varieties. As you can see above, Wes is cutting a piece of limestone against a blue metamorphic rock (which is extremely dense and does not break easily).
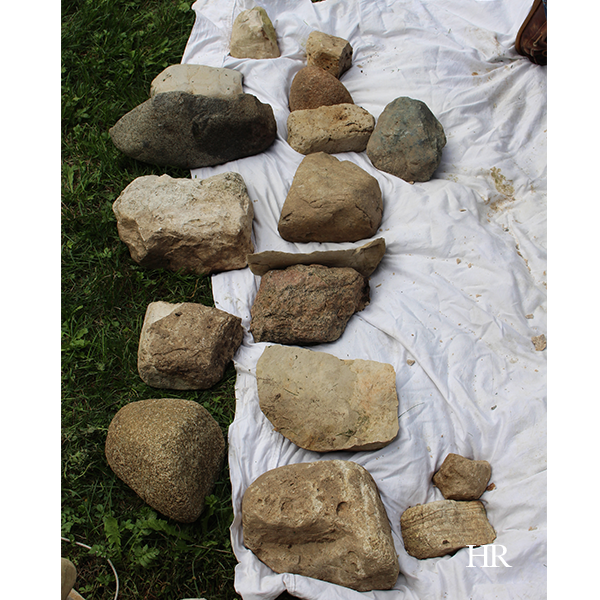
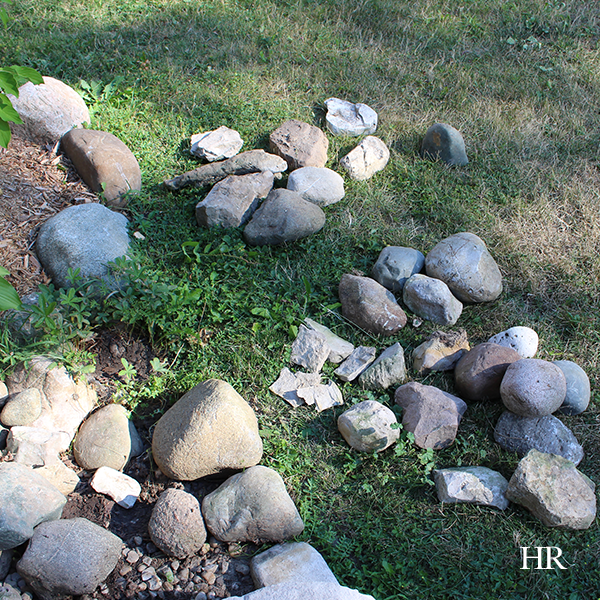
Wes highly recommends laying stones out so you can see them before you get started with your stone bench project. Having a full view of the rocks available for your DIY will greatly assist you as you compose your stone bench. This practice also allows greater ease in experimenting with which stones will work best for the space in which you’re building.
For more advice and photos on how to build your own dry lay stone bench, check out our other completed DIY stone bench projects here, here, and here.








![False friends or counterfeit kindness; whatever you want to call it, the world is filled with people who will say one thing to your face and then another behind your back; people who will woo you in order to get something from you.
It’s sad, but it’s true.
The Bible provides us with examples from Joab to Judas, and yet, we’re surprised when we find ourselves deceived and hurt by someone else.
So what are some of the hallmarks of a true friend?
You can read more about this on hopereflected.com [Link in profile]
.
.
.
#friends #friendship #kindness #counterfeitkindness #hurt #proverbs #truefriends #hopereflected #blog #blogpost](https://www.hopereflected.com/wp-content/plugins/instagram-feed/img/placeholder.png)