Hope Reflected

Encouragement and Hope from God's Word

gardening Archive

Thursday

8

September 2016

5 Fall Flowers for Your Garden

Written by , Posted in Gardening

There’s certainly (hopefully) still some warm weather to enjoy before we’re full-blown into Fall, especially if our ferns, hydragneas, and rose bushes are any indication. That being said, Wes and I have been putting some thought into Fall flowers and considering what we’d like to incorporate into our yard in the future.

I’ve been pinning some great Fall flower gardening options over on my Pinterest, and I’ve got to say, the options for flowers in a Fall garden are endless! There are so many varieties of blooms out there. We’re already planning ahead what perennials we want to get growing for next year. In the meantime, here are 5 Fall flowers for your garden:


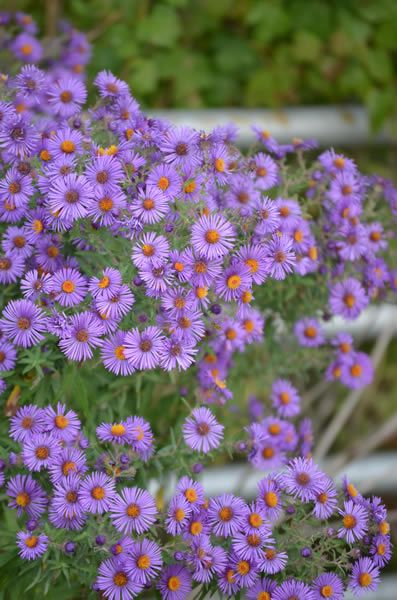
1. Aster. Ah, the aster flower. In hues like purple, white, pink, and even blue, asters provides excellent colour to stand out in your Fall garden, long after other blooms have died off for the year. While they look similar to mums, don’t be deceived. Asters don’t come in as many varieties or colours as mums.

5 fall flowers for your garden asters

img src prariemoon.com


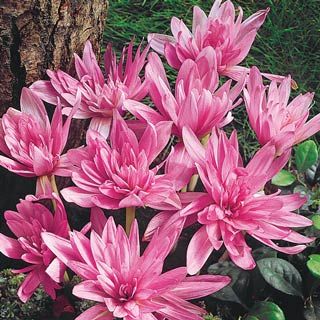
2. Colchicums. Beautiful, bold, and bright, colchicums (like the Waterlily variety pictured below) provide a lovely spread of blooms throughout the Fall. Available in white and pink hues, colchicums are a great perennial to plant and enjoy year after year.

5 fall flowers for your garden colchicum flowers

img src Brecks Bulbs


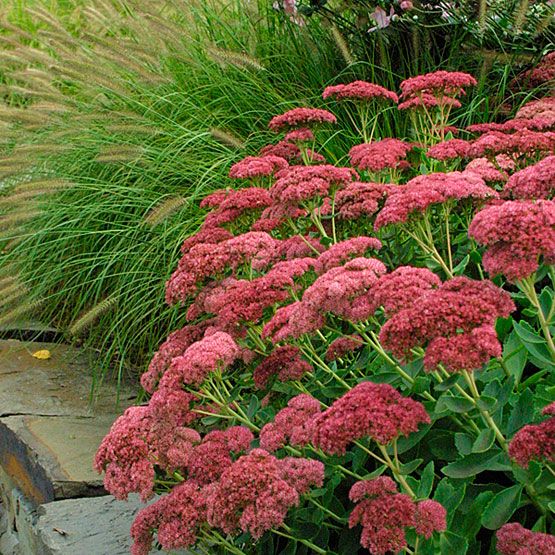
3. Sedum. These flowers are a sure sign to me that autumn is in the air. I can remember sedum flowers growing in my Mum’s garden when I was a child. This perennial features clusters and clusters of flowers, most commonly in a reddish pink colour. Sedums are a beautiful Fall flower!

5 fall flowers for your garden sedum flowers

img src Fine Gardening Magazine


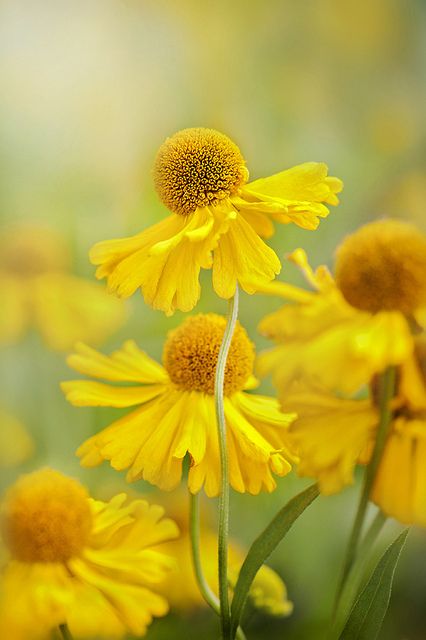
4. Helenium. How cheerful are these daisy-like flowers?! Heleniums look like a happy flower. Featuring velvety petals and available in a variety of autumnal shades, heleniums boom very late Summer and they love sun.

5 fall flowers for your garden helenium

img src Jacky Parker Floral Art Flickr


5. Mums. Chrysanthemums are probably the quintessential Fall flower. Available almost everywhere, fall mums are a classic flower to add some colour to your yard throughout the autumn months. Mums are beautiful, bright, and hardy.

5 fall flowers for your garden mums

img src thriftydecorchick.blogspot.sg

If you’re looking for more inspiration for your Fall garden, head on over to my Pinterest page and follow along!

 

Thursday

1

September 2016

3 Hostas to Add to Your Garden

Written by , Posted in Gardening

I’m a huge fan of low maintenance plants, so it’s no surprise that hostas are one of my favourite perennials. Requiring little maintenance, hostas can grow just about anywhere, and besides watering, they’re some of the most low maintenance plants for your garden. If you’re looking for some hostas to plant in your garden, check out my Hosta Pinterest board for some inspiration!

Here are 3 hosta varieties to add to your garden that will definitely stand out:

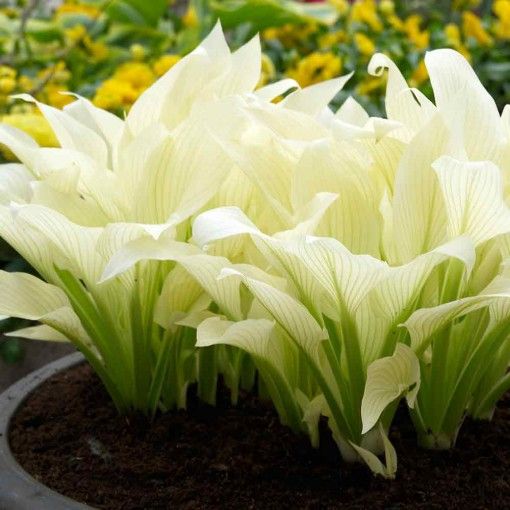
1. White Feather Hosta. White feather hosts plants are characterized by their large, pure white leaves that emerge in late spring/early summer. Throughout the summer, you may notice green streaks developing on the foliage, and lavender flowers.

white feather hosta

img src jparker


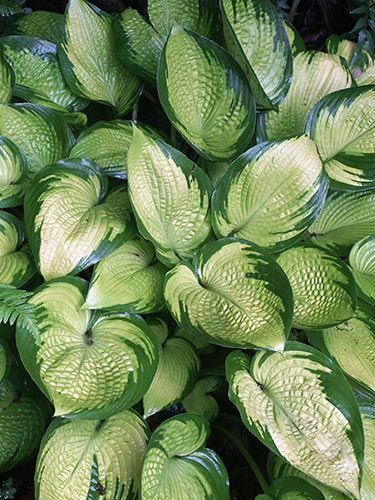
2. Inniswood Hosta. What I love about the Inniswood hosta variety is the distinct texture on the leaves. While the colour of this hosta is similar to other varieties, the texture on the leaves gives almost a metallic look to the plant.

inniswood hostas

img src sunnysidegarden


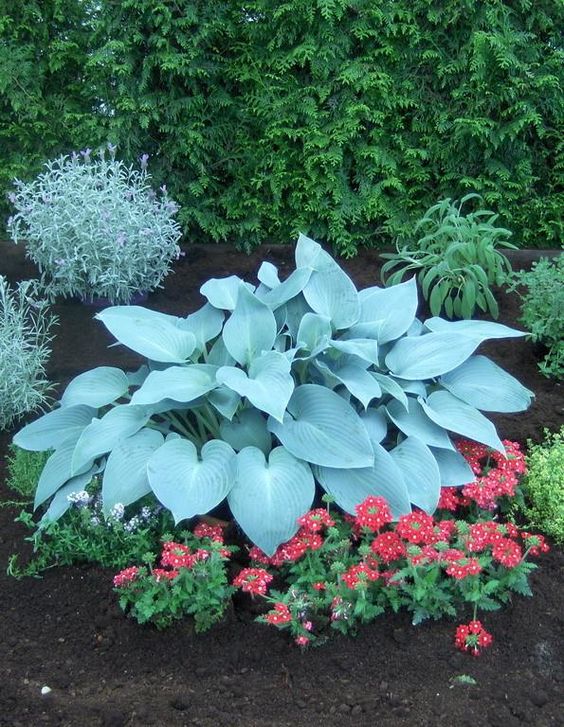
3. Canadian Blue hosta. The Canadian Blue hosta has to be one of the most different hosta varieties that I’ve ever seen. I love how the steely blue contrasts against the green in the rest of this garden. What a beautiful plant!

canadian blue hosta

img src tradera

For more pictures of hosta plants and lots of gardening inspiration, follow me on Pinterest!

Tuesday

30

August 2016

Hope’s How-To: Build a Dry Lay Stone Bench

Written by , Posted in Gardening, Hope's How-To

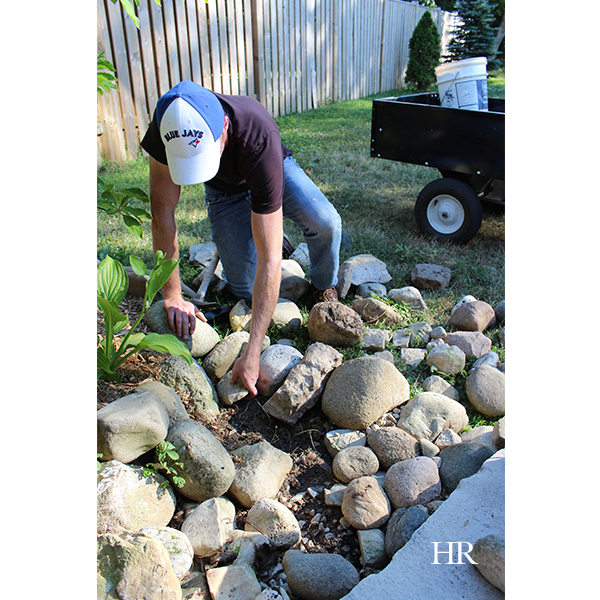
We’ve had several compliments and questions regarding Wes’s masonry style when it comes to the dry lay stone benches he has been creating in our yard. He’s working on the third bench now to round out the project, and I can’t wait until it’s complete!

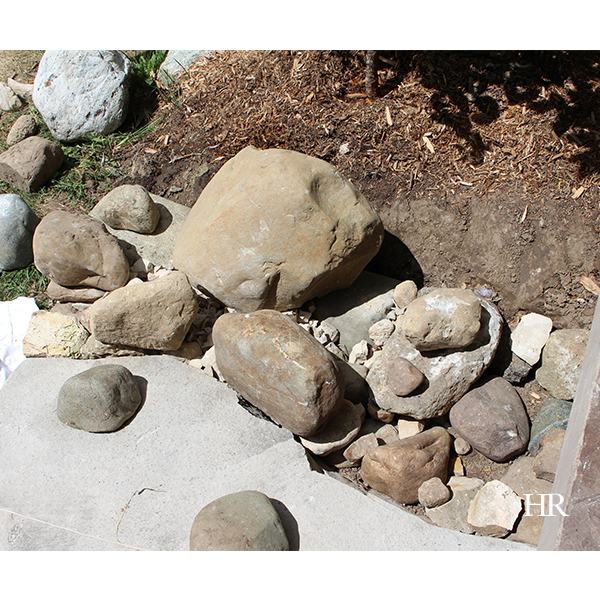
dry lay stone bench before

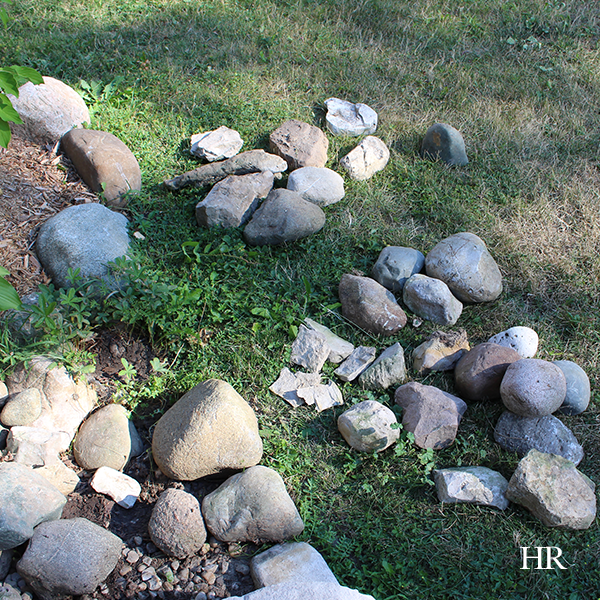
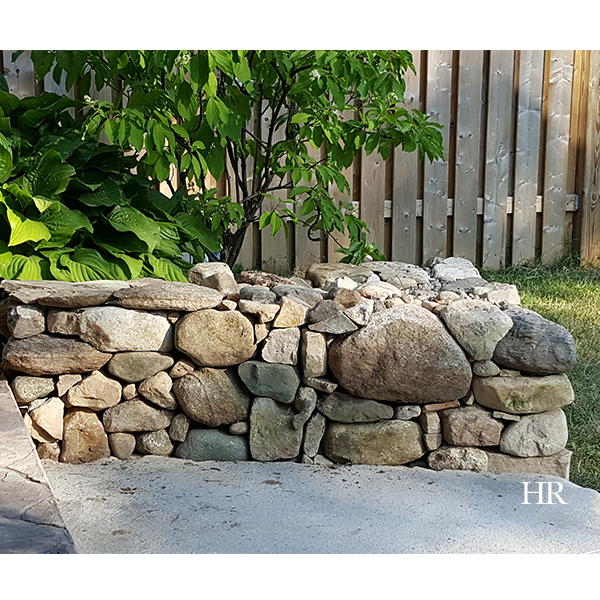
The above photo is before things really got started on the dry lay stone bench. Previously, we had a pile of large stones between the garden and slab stone step off our patio. To get the ground ready, Wes raked and levelled out the earth, and put down some gravel.

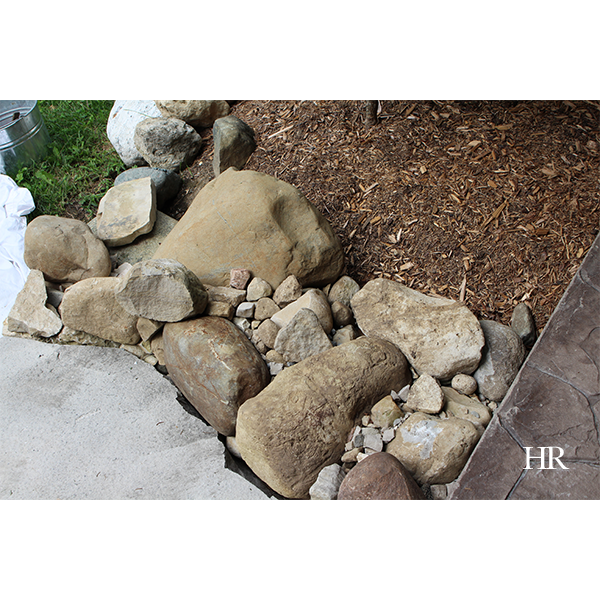
dry lay stone bench after

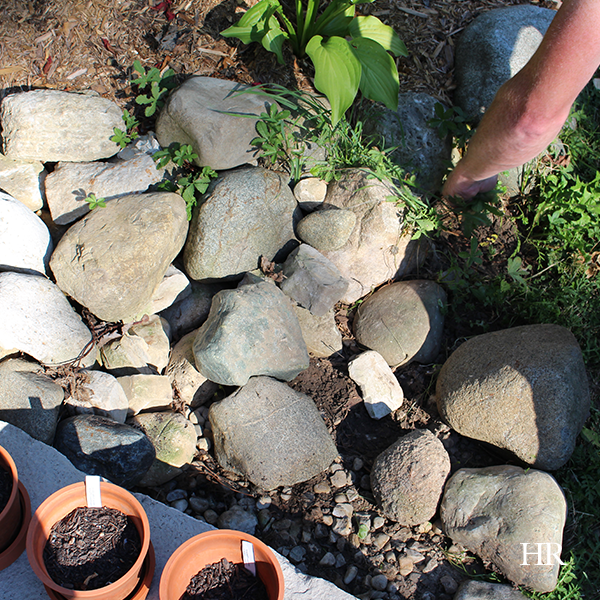
If you’re looking to create a DIY dry lay stone bench of your own, you will want to choose the stones for your bench based on their function in the wall system. In the above photo, you can see how Wes has carefully selected larger anchor stones for around the border of the stone bench, and used smaller, filler stones for the centre of the bench.

my husband cutting stones

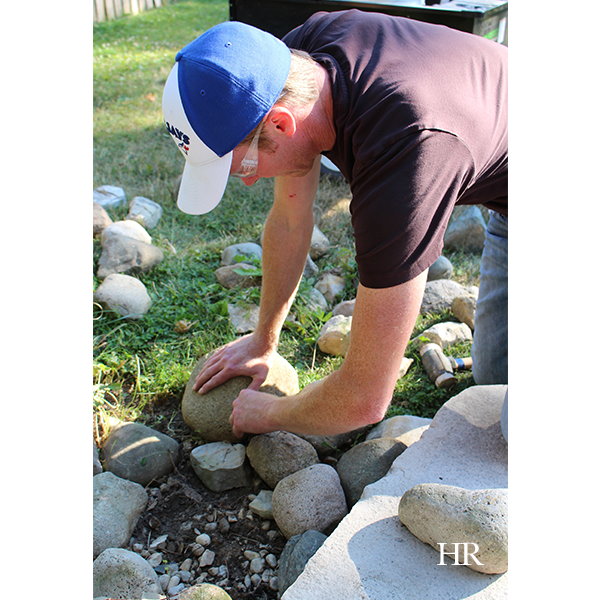
Choose a stone according to its density. For example, if your DIY bench requires custom stone cutting, ala the photo above, you’ll want to choose limestone to work with it because it cuts more easily than other rock varieties. As you can see above, Wes is cutting a piece of limestone against a blue metamorphic rock (which is extremely dense and does not break easily).

choose rocks for your stone bench

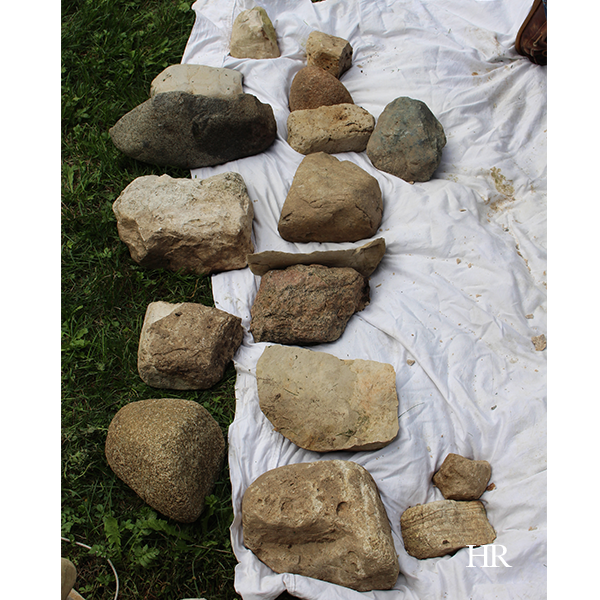
Wes highly recommends laying stones out so you can see them before you get started with your stone bench project. Having a full view of the rocks available for your DIY will greatly assist you as you compose your stone bench. This practice also allows greater ease in experimenting with which stones will work best for the space in which you’re building.

For more advice and photos on how to build your own dry lay stone bench, check out our other completed DIY stone bench projects here, here, and here.

Thursday

25

August 2016

5 Shade Gardens to inspire your yard

Written by , Posted in Gardening

I love anything green in the garden; the more foliage the better! Shade gardens are a great place to showcase your love for green. Wes and I love the cedars and hostas in our yard, and we’re always looking for more garden inspiration. Cue this curation of shade gardens from my Outdoor Living board on Pinterest!

Here are 5 shade gardens for your yard:

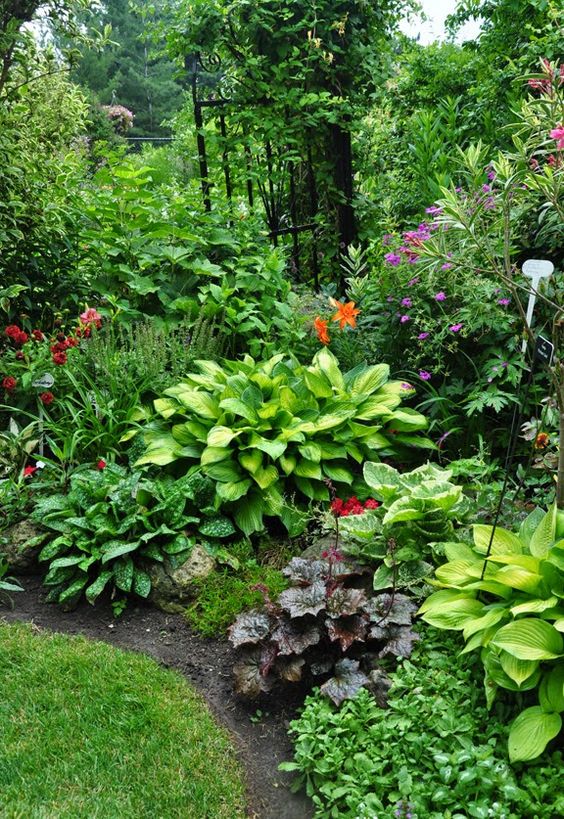
1. All the perennials. This shade garden features several different perennials, including hosta varieties, a Brunnera, a Heuchera, and a Pulmonaria. There are a few pops of colour, and even a wrought-iron accent for climbing plants. The garden border is clean and simple.

shade gardens featuring hostas

img src threedogsinagarden


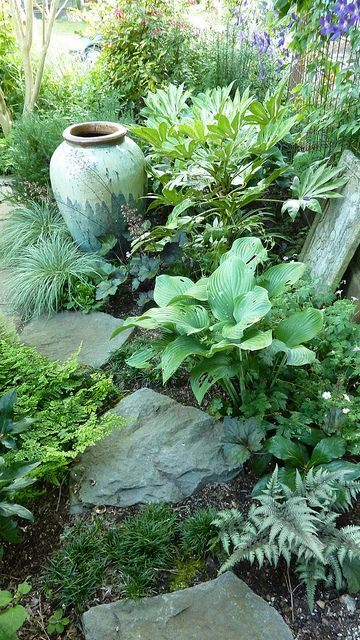
2. Natural stones and hostas. I love a garden with some natural stone work throughout. Featuring hostas, ferns, and other green leafy vegetation, this shade garden will grow with time. It’s a rewarding experience when you watch your plants mature from the first season you plant them. Over time, hostas will spread and expand (you may even look at dividing them and transplanting after a few seasons).

shade gardens featuring lots of green

img src diyandcrafts magazine


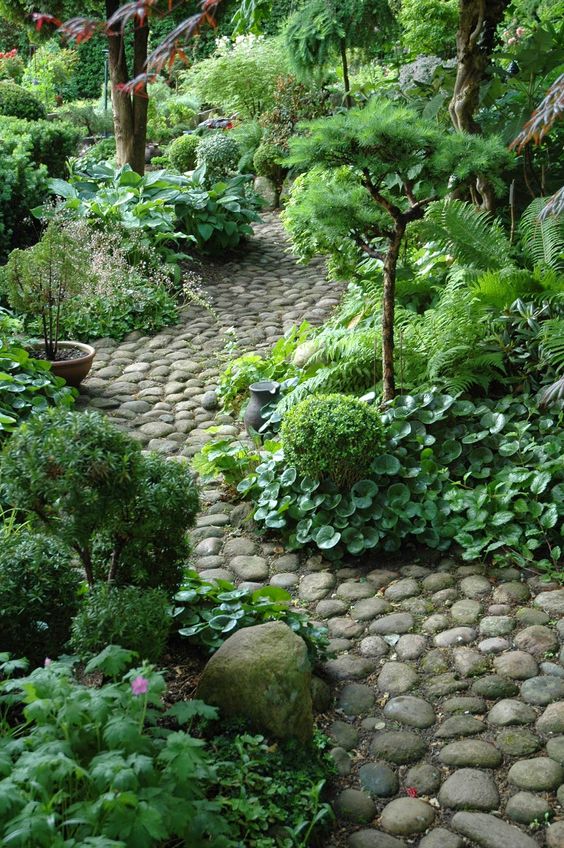
3. A versatile garden and stone pathway. The stone pathway in this patio scene is lovely! Also lovely? The versatility in this shade garden. A great way to create interest is by potting your plants — small shrubs, hostas, even boxwood, — do well in urns or pots, and they allow you to move them throughout your garden.

shade gardens with stone pathway

img src havetid.blogspot


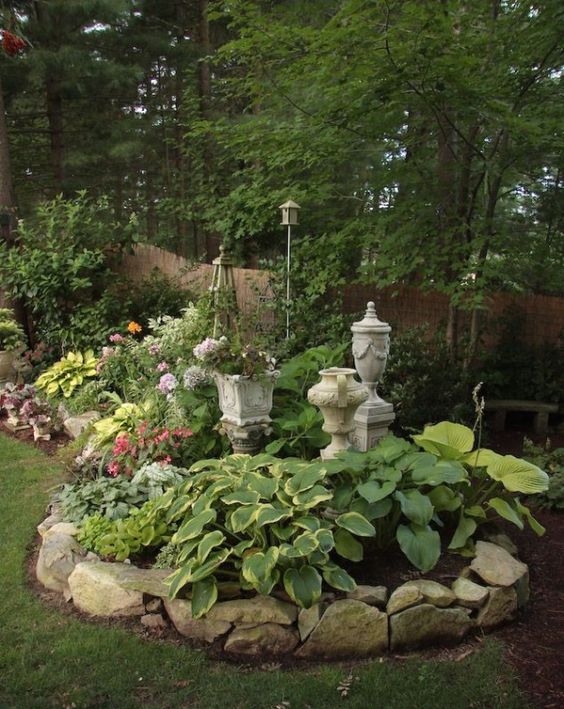
4. A proper border. I love a good stone border along the garden. An established border around a garden helps keep everything in its place, and actually draws the eye in to the contents of the garden. This garden has several varieties of hostas, as well as some hydrangea, and some cement urns. Talk about a sanctuary for small animals and birds!

shade gardens with stone border

img src indulgy


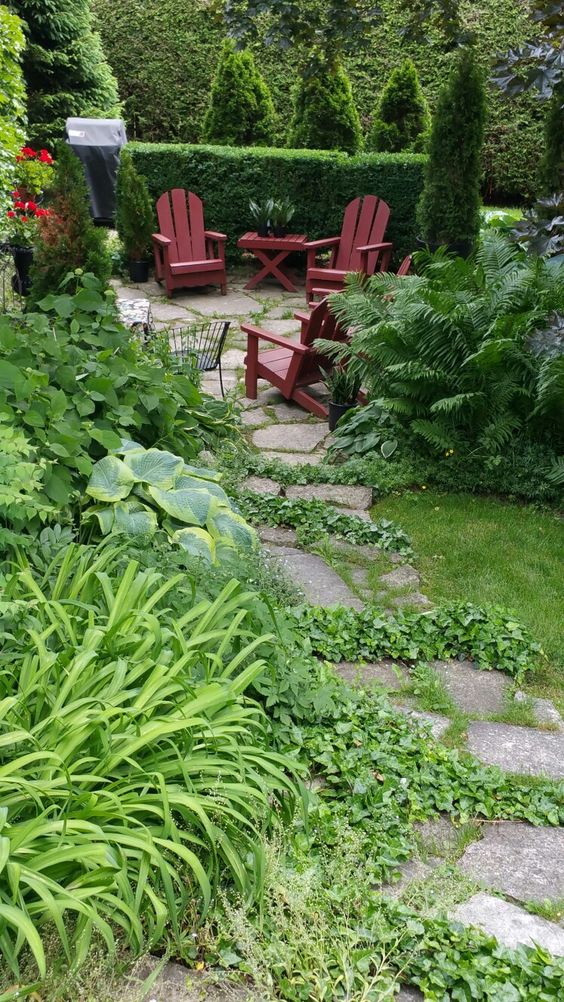
5. Backyard oasis. My Mum and Dad’s back shade garden has to be one of my most favourite places around. Their garden is carefully curated, and is a wonderful place to relax throughout the Spring, Summer, and Fall months. Complemented by a mature cedar hedge, emerald cedars, and some well-manicured boxwoods, Mum and Dad’s garden features several varieties of hostas, ferns, hydrangea, and a beautiful lilac bush.

shade gardens with stone steps

img src HopeReflected

For more inspiration, be sure to follow along on my Pinterest for lots of gardening and outdoor living ideas!


Tuesday

23

August 2016

Roses: Rosa Hybrid Ten-Ten Hybrid Tea Rose

Written by , Posted in Gardening

It’s no secret that Wes and I are big fans of roses. This Summer, we picked out three rose varieties to plant in our garden. I’ve already shared with you about our white Bolero Floribunda roses and our Singin’ in the Rain Floribunda roses, and today we’re talking about our Ten-Ten hybrid tea roses.

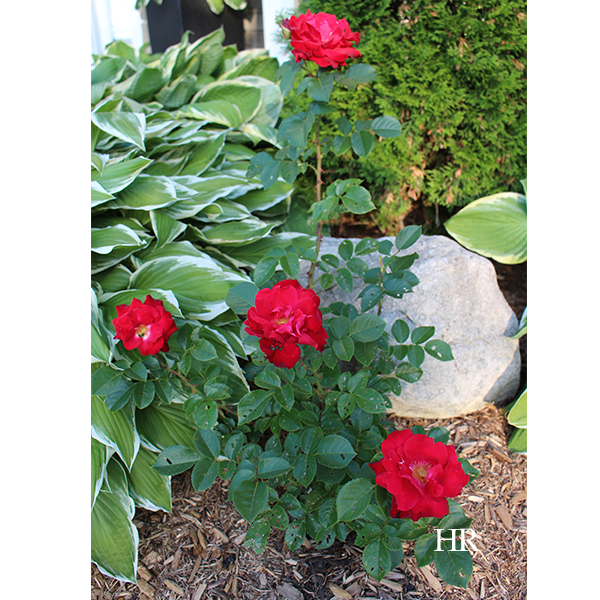
our ten-ten hybrid tea rose bush

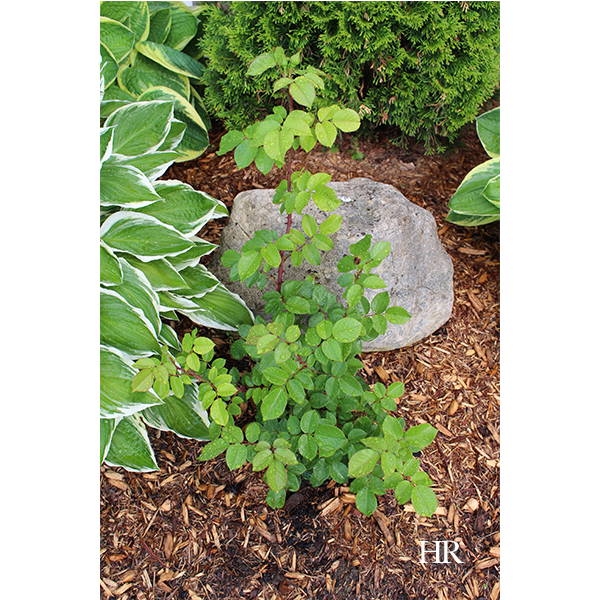
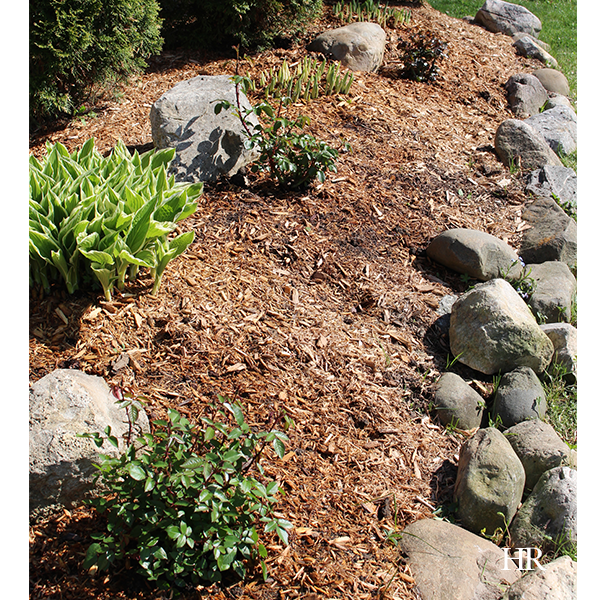
Initially, we picked out the best looking rose bushes we could find, meaning, the rose bushes were showing promise of new growth, and the leaves looked healthy. We planted the bushes the day we purchased them, making sure to pack the plant down with our feet and give it a good watering after establishing it in its new home. We chose our front garden as it gets 6+ hours of sunlight each day (rose bushes require full sun), and we planted each of our three rose plants in an area where the moisture from watering would hold (each is stationed near a large stone).

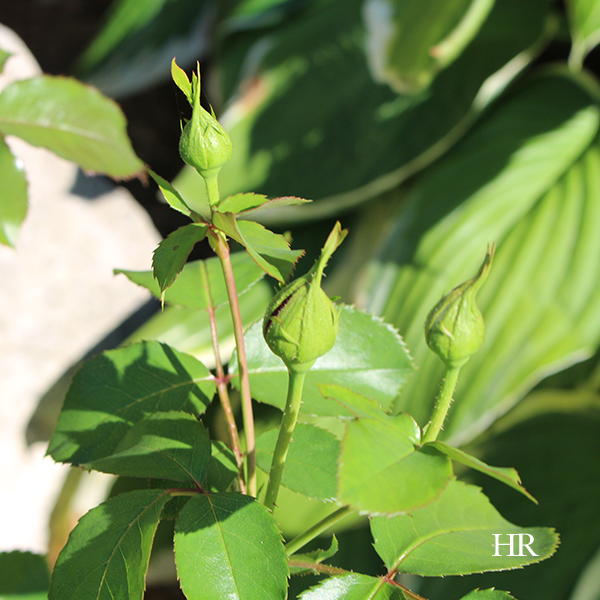
blooms from our rose bush

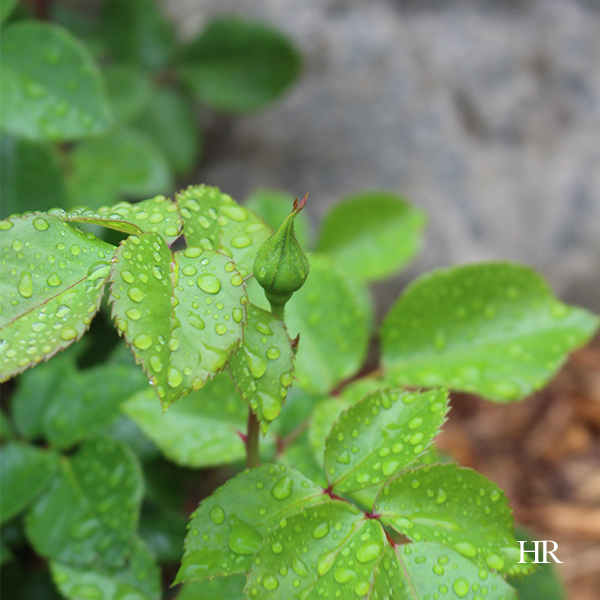
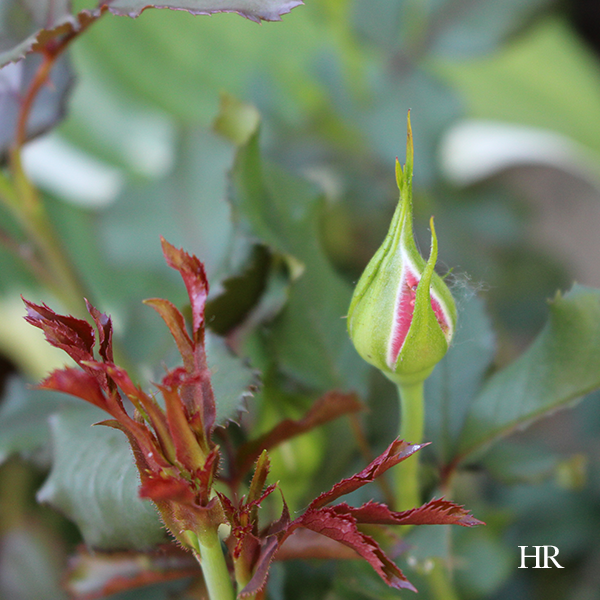
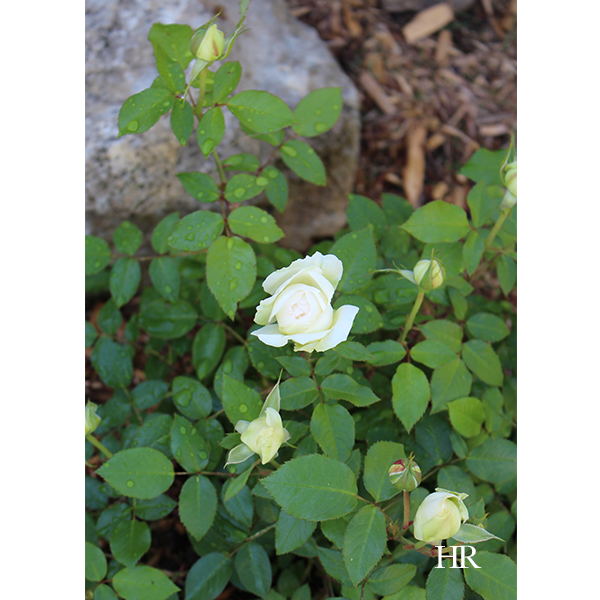
One of the things to look for when you’re shopping for garden plants is new growth. Our Ten-Ten hybrid tea roses had one partial bloom and several buds (as pictured above).

ten-ten hybrid tea roses

As you can see, without any fertilization at all, our red tea roses produced several large, beautiful blooms. What you can also see in the photo above is that we did run into a minor setback with saw fly larvae. To solve this problem, Wes killed all the worms (you can also buy plant soap for a bath, or just use some Dawn soap diluted with water).  We trimmed back the bushes, and fertilized, and then we were back on track.

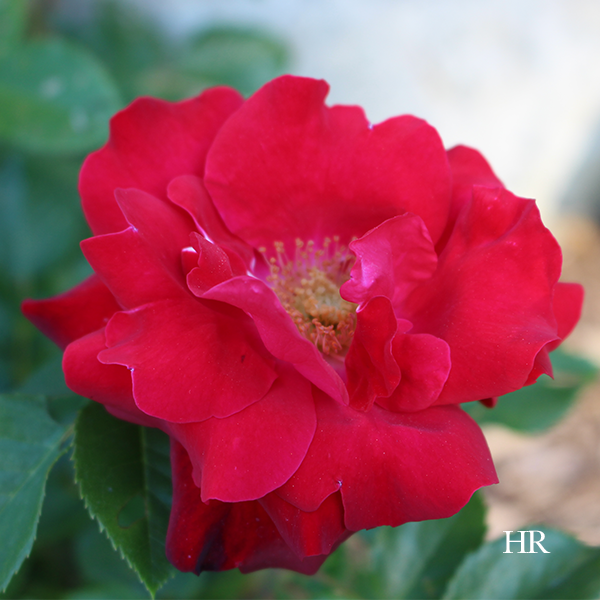
red tea roses bloom

Characterized by large, lovely blooms, hybrid tea roses are apparently the oldest group classified as a modern garden rose. There are many different varieties, however we’re loving these Canadian grown red beauties. They add a beautiful pop of colour to our front garden.

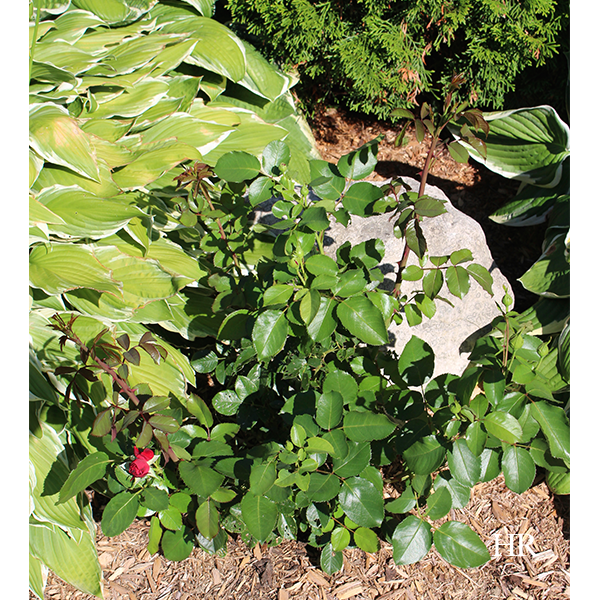
after fertilizing, our roses showing new growth

Before fertilizing your roses, I’d highly recommend trimming back the plant. After the first of our ten-ten hybrid tea roses had bloomed, we trimmed back the entire rose bush, used Miracle Gro, and the above photo is the result after a couple of weeks. The roses grow back stronger, with longer stems, and with larger blooms (also several more blooms than when we planted the rose bush initially).

after fertilizing, our roses showed more growth

Tuesday

16

August 2016

Dry Lay Stone Bench, Patio Edition, Part 1

Written by , Posted in Gardening

If you’ve been following along, earlier this Spring, Wes built the most beautiful DIY dry lay stone bench by one of the large trees in our yard. You can see the progress here and here, and now, he’s working on another stone bench, this time by our patio.

the beginnings of a dry lay stone bench

When he suggested the idea, I was all for it. Wes and I both love the old European, timeless feel of a dry lay stacked stone bench. There’s something so captivating about the ancient art of dry laying stones. Wes has a real talent in this area, and I can’t wait to show you the finished product.

marking the outline of our dry lay stone bench

Since we already had a pile of stones by the patio, Wes took some time to reconsolidate the collection according to their shape (and use) and prepare the foundation. He kept the larger, more flat rocks on the bottom to support the overall bench (like a float).

selecting stones for the dry lay bench

The art of dry lay stone stacking involves using smaller wedge-shaped (pins) stones to pin up the larger boulders. If you’re planning to try a DIY project like this in your own yard, best practice is to always prep your foundation first (level out dirt, add smaller gravel, pebbles, and then test which stones will work best in the system).

selecting stones for our dry lay bench

A good rule of thumb to remember when building a dry lay stone bench is that every rock or stone has its place. In the photo above, to the right of Wes’s hand, is a long stone called a through. Throughs stabilize the wall by tying the exterior weight to the interior weight of the stone system. (The longer the better.)

dry lay stone bench before the cap is poured

When he’s building a dry lay stone structure, Wes puts emphasis on the positive slope of the stones leaning in to one another towards the centre of the wall (or in this case, bench). This way, the bench or wall is always leaning into itself. Walls created from a dry lay or “drystone” lay have stood for hundreds of years in Europe and are still standing today. You just require the right foundation on which to build.

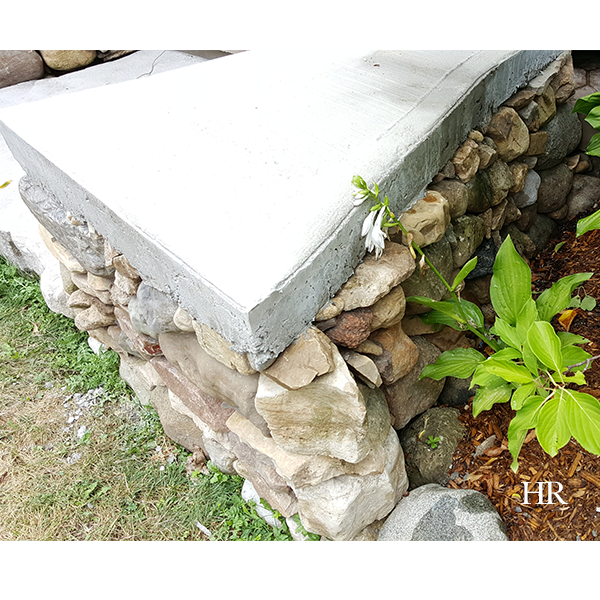
dry lay stone bench with cement cap

How you complete your DIY dry lay stone wall or bench is personal preference. Because of the location of proximity to the sitting area on our patio, we thought it wise to complete our dry stack stone bench with a cement cap. Bonus: Extra seating when company comes over! If you are planning to pour a concrete cap, be sure to “hoard” materials between the top stones on your wall that are round. This will prevent any concrete from running and will preserve a clean edge for your cap.

Tuesday

2

August 2016

Roses: Rosa Hybrid Singin’ In the Rain Floribunda Rose

Written by , Posted in Gardening

A couple of weeks ago, I shared the first photos of the Bolero Floribunda Rose bush that Wes and I planted. Today, we’re sharing photos of our Singin’ in the Rain Floribunda Rose, one of three rose varieties that we planted in our front garden this Spring.

singin' in the rain floribunda rose

New bloom on our Singin’ in the Rain Floribunda Rose

On the receiving end of 6+ hours of sunlight each day, our front garden is the ideal spot for roses. Wes and I have been very impressed so far with the performance of our rose bushes so far this year. We water the roses regularly, and we’ve also been using a rose fertilizer every 10-14 days.

singin' in the rain floribunda rose

Our Singin’ in the Rain Floribunda Rose bush after we first fertilized

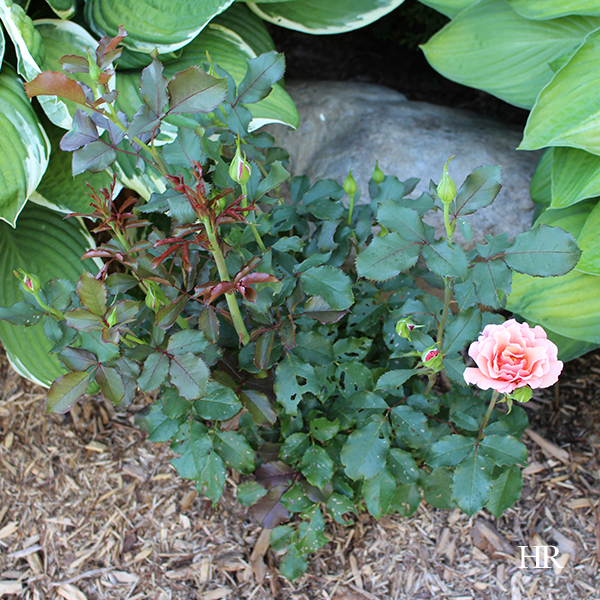
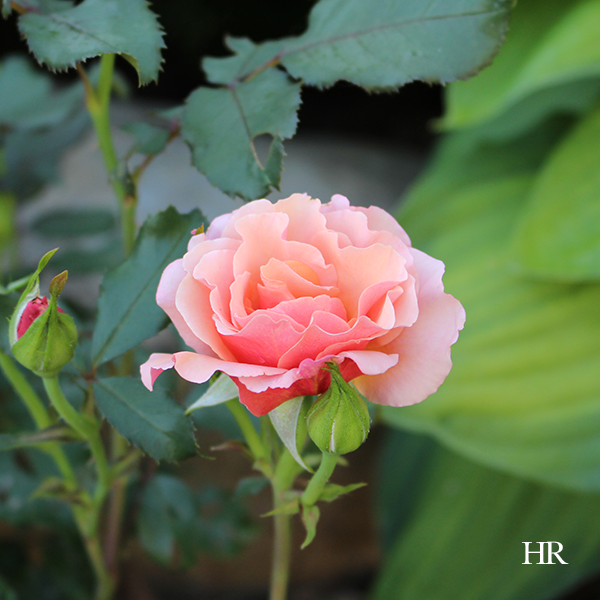
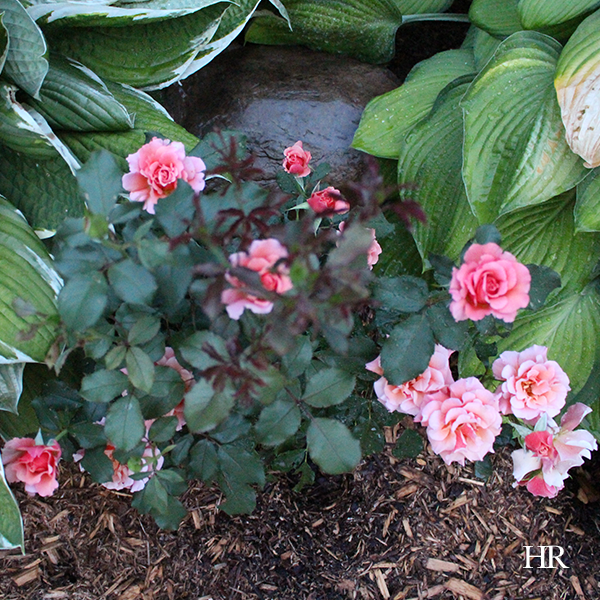
We got a few blooms right in the beginning, and then we trimmed the bush back. After fertilizing the first time, we saw thirteen more blooms, which we’ve since pruned back (and we’re now seeing more blooms). The Singin’ in the Rain Floribunda Rose is a brilliant copper-apricot peach coloured flower on a deep green leaf.

Singin' in the Rain Floribunda Rose

The brilliant peach-coloured blossoms of the Singin’ in the Rain Floribunda Rose

Admittedly, Wes and I have had some struggles with two of our rose bushes this year. Our Singin’ in the Rain Floribunda Rose and our Ten-Ten Hybrid Tea Rose have been plagued with sawfly larvae (more on that later). After treating the bushes and trimming them back, the new blooms appear unaffected.

singin' in the rain floribunda roses

Trimming back our Singin’ in the Rain roses after they were attacked by rose sawfly larvae.

Growing up to 6 feet tall and 4 feet wide, many people choose to use Singin’ in the Rain Roses as part of a plant hedge, by planting multiples of the rose bush in one place. Roses in general are also a great plant choice if you’re looking to attract bees to your garden.

Singin' in the Rain Floribunda Roses

Our Singin’ in the Rain Floribunda Roses after fertilizing.

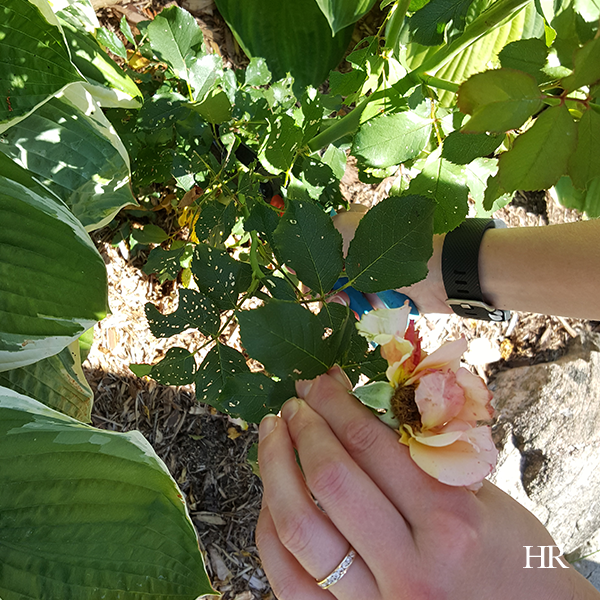
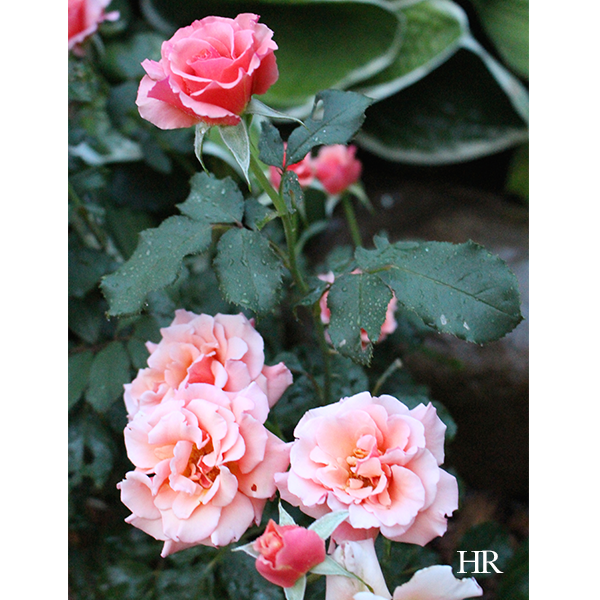
You can see in the above photo how the hue of apricot/peach deepens with each new bloom. Older blooms are apt to be lighter in colour. The Singin’ in the Rain Floribunda Rose is an excellent specimen if you’re looking to trim and enjoy the cut flowers inside. Just beware that this specimen of roses has a thick spine and thorns.

Singin' in the Rain Floribunda Roses

We’ve been enjoying our Singin’ in the Rain Floribunda Roses this year!

If you’re looking to plant rose bushes in your yard, we’d recommend you choose to plant them in the Spring, in an area of your yard that receives lots of sunlight. Also, watering and regular fertilization is key. Wes and I have been using Miracle Gro, however there are other rose fertilizers on the market with good reviews. We are enjoying this particular rose variety, and look forward to many more blooms even before the end of this season!

Tuesday

12

July 2016

Roses: Rosa Hybrid Bolero Floribunda Rose

Written by , Posted in Gardening

roses bolero floribunda rose

Our rose bushes after we first planted.

It’s no secret that I’ve always had a soft spot for roses. This Spring, Wes suggested that we plant some of our own rose bushes to grow some blooms at home. We picked out three varieties — the Bolero Floribunda Rose, the Ten-Ten Hybrid Tea Rose, and the ‘Singin’ in the Rain’ Floribunda Rose — and we planted them in our front garden.

roses bolero floribunda rose

First bloom of our Bolero Floribunda Rose.

We chose our front garden as it gets the majority of sun (6+ hours each day), which is a requirement for successfully growing any plant in the rose family. Most roses do well with lots of sunlight, as well as regular watering.

roses bolero floribunda rose

First blooms from our Bolero Floribunda Roses!

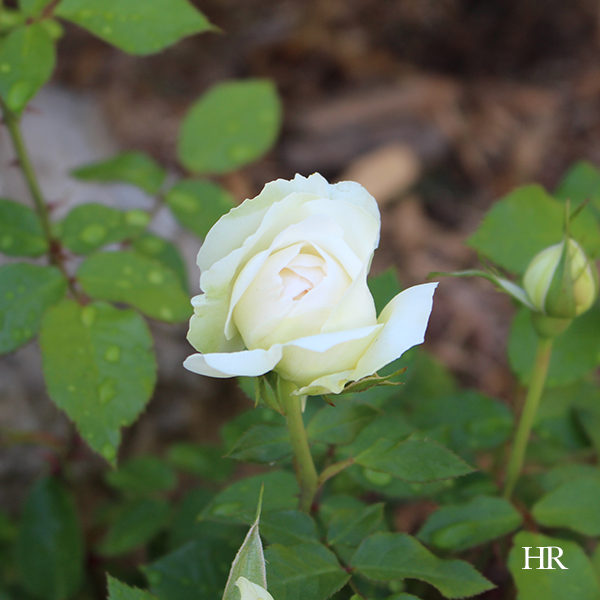
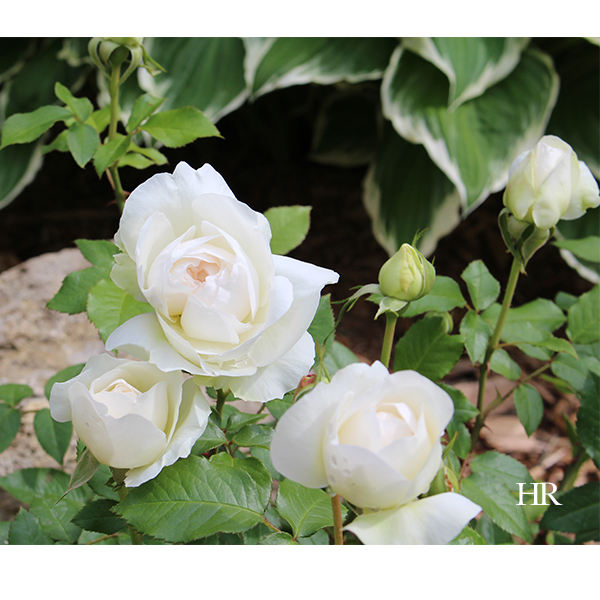
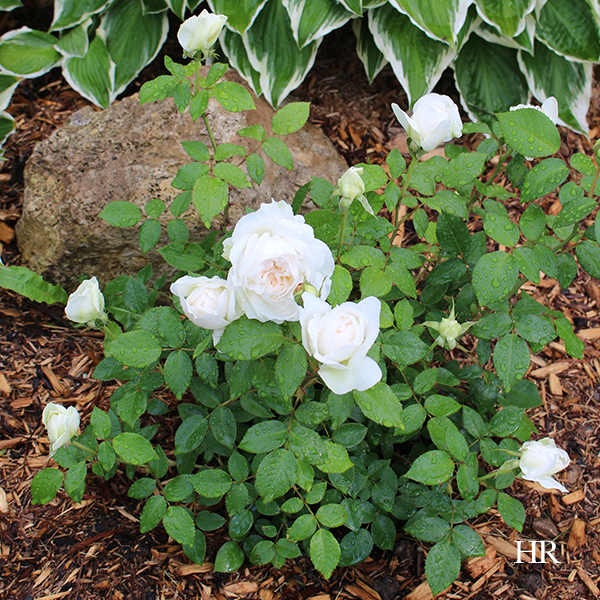
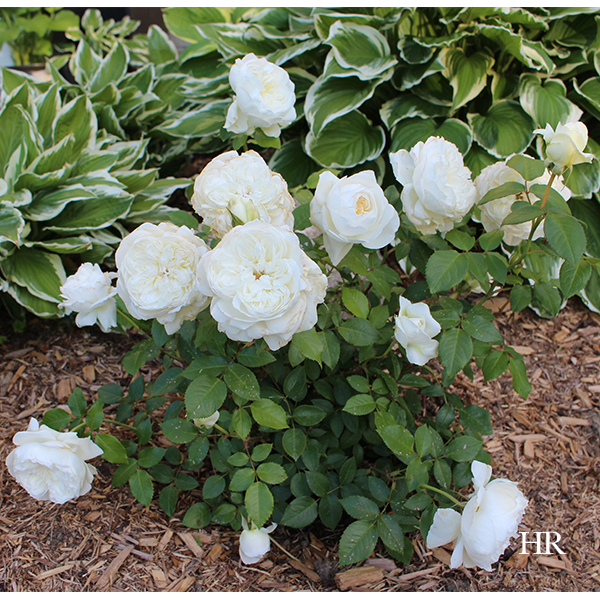
Bolero Floridbunda roses are usually 2-3 inch blooms with seemingly endless layers of petals and a unique fragrance. Their full petals resemble a small peony, and their foliage is typically a very rich green.

roses bolero floribunda rose

Bolero Floribunda Rose

Originally from France (now grown all over, and in Canada), Bolero Floribunda roses are known to be one of the more disease-resistance varieties of roses. Spoken from experience, our Bolero Floribunda roses were the first bush to bloom of the three that we planted in our front garden.

roses bolero floribunda rose

13 blooms at the peak of the Bolero Floribunda Rose.

The blooms have come and gone for this season, and Wes and I have pruned them back. We fertilize every other week, and we’re already starting to see new growth!

roses bolero floribunda rose

Lots of layers in the blooms of the Bolero Floribunda Rose.

Tuesday

5

July 2016

5 Inspiring Outdoor Fire Pits to Add to Your Back Yard

Written by , Posted in Gardening

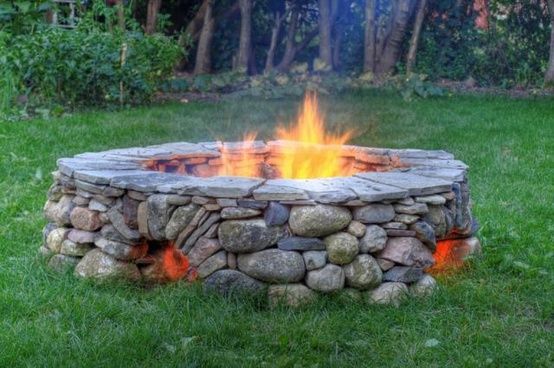
With Summer in full swing, we’re spending as much time outdoors as possible. One thing on the horizon is a fire pit, if ever we can find the time! We’re big fans of natural stone, so planning our fire pit does not involve any kind of pre-fab “kit”. Rather, we’re considering a dry lay, similar to the dry lay stone bench that Wes has been working on. Check out my Outdoor Living board on Pinterest for more fire pit inspiration, and in the meantime, these are 5 amazing fire pits that have really got me feeling inspired!

1. Fire Pit by the water. I’m not a huge fan of pea gravel, but I do love the set up of this fire pit. The sectioned-off area creates definite separation from the grass, and I absolutely love the dry lay of the actual fire pit. Accented with some fantastic colonial red chairs and log side tables, this fire pit is sure to be a spot for making memories.

fire pit

img via Fieldstone Hill Design Darlene Weir

2. Fire pit and bench. Outdoor seating doesn’t always have to be done with chairs, so it makes complete sense that this fire pit has a complementary surround in the same style. Again, I’m not a huge fan of gravel, but in this situation it works.

fire pit

img via indulgy.com

3. Dry lay fire pit. This fire pit is amazing! Check out the intricate details that went into this fire pit. It features some detailed arches and bottom vents to keep air flowing and fire glowing. Absolutely love this set up, and I think it would look great with a flagstone surround.
fire pit

img via Jessica Little House Big Heart

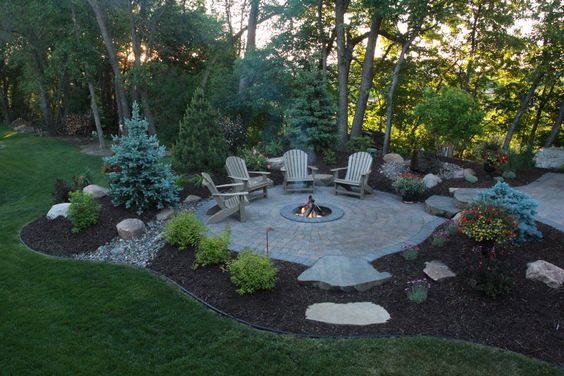
4. Flat and flush fire pit. While I’m more a fan of a fire pit that really stands out, I also appreciate the simplicity of this fire pit, which lays almost flush with the interlocking stone surround. There’s something to be said of this circular set-up, and I especially like that it’s at the end of a walk out with one stone step. Complementary landscaping around finishes the look and adds privacy.

fire pit

img via sunlitspaces.com

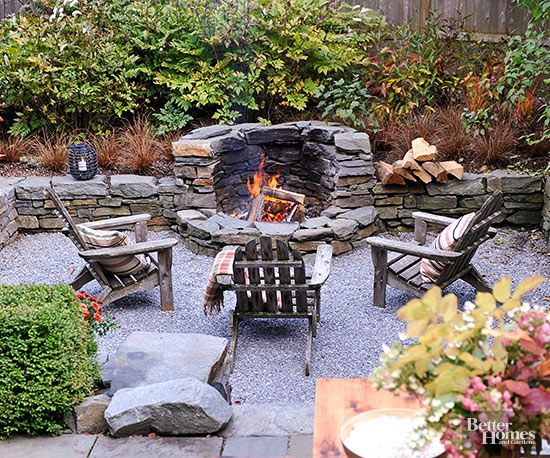
5. Built in fire pit. Speaking of privacy, this fire pit is actually built into a stone wall surround with some serious foliage behind. For a property on the road or bordering another home, this set up would be ideal. The stone wall surround means extra seating, and the open front of this fire pit provides plenty of heat.

fire pit

img via Better Homes and Gardens


Friday

17

June 2016

Hope’s How-To: Build a Robin’s Nest – Part 4 – Robin Fledglings

Written by , Posted in Christian Living, Gardening, Hope's How-To

robin fledgling 1

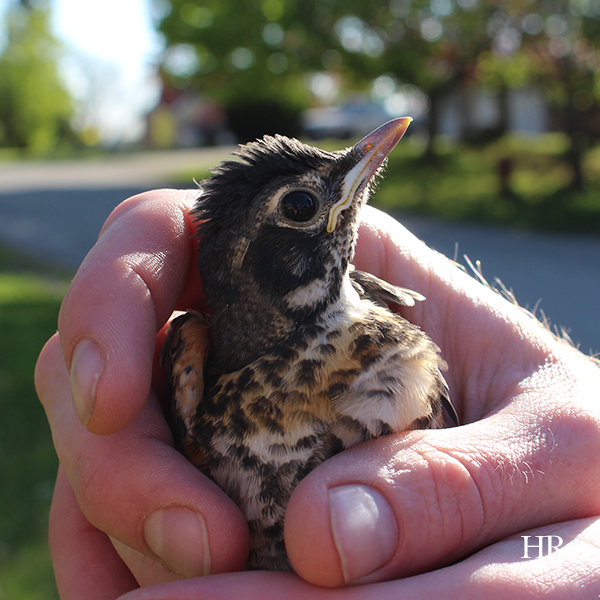
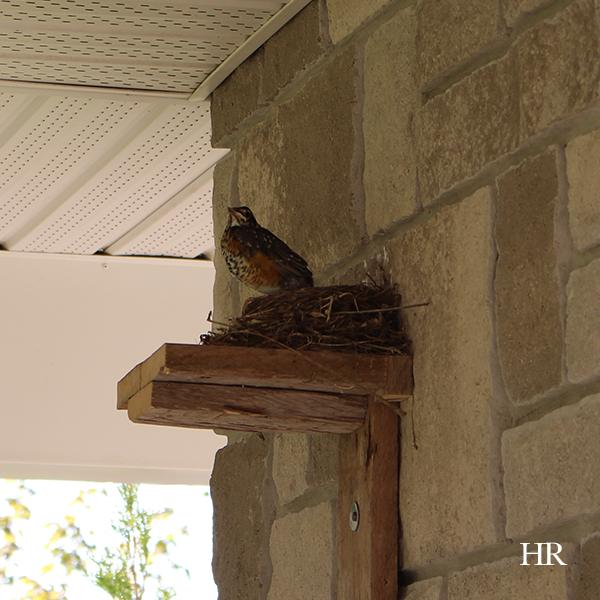
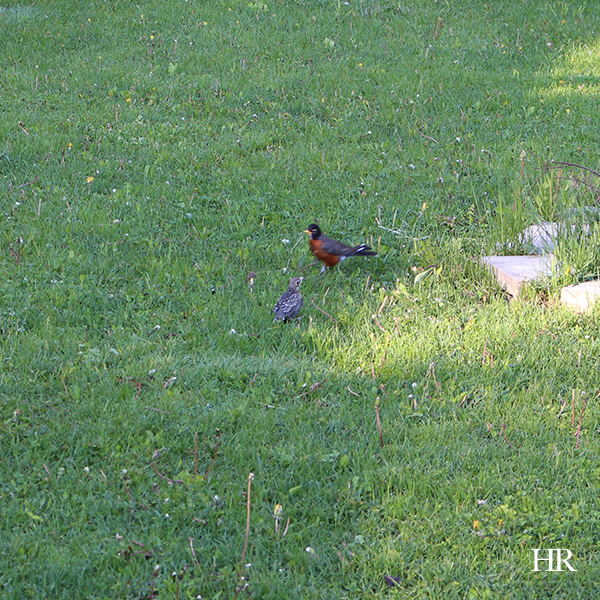
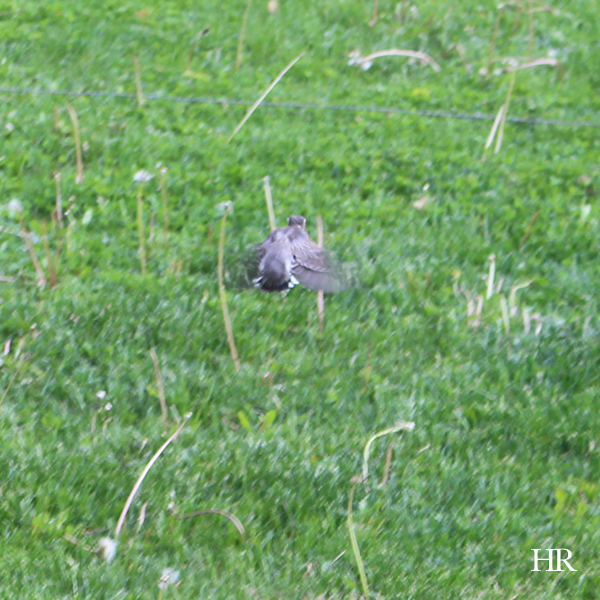
This happened several weeks ago, however lately our lives have been in a constant state of motion, so I’ve not had time to post a robin update until now. The baby robins flew the coup (quite literally)! All four of our baby robin fledglings have left the nest and set out on their journey through… our yard.
baby robin fledgling in nest

Wes and I came home from church a few weeks ago, and I wanted to check on the baby robin fledglings in the nest. As the robins had been living right on our patio by our living area, it was easy to sit out and observe their growth, feedings,  and daily habits. Wes had encouraged me since the robin eggs hatched to keep my distance, and of course this particular Sunday in May I just had to get out there to see them.

Obviously the little guys were developed to the point that they were actually crowding the nest, however when I came out to see them, without being too close, they all fledged from the nest.

At first, I panicked. Wes ran around the yard and rounded them up to put back in the nest (see photo above), however it was clear; the baby robin fledglings were ready to embark on their adventure away from the nest.

baby robin fledglings

Over the past few weeks, a common sight in our yard has been Mama Robin bouncing and flying around the yard, with her young not far behind. While the robin fledglings have grown so much since the time of these photos almost a month ago, what remains of the family still calls our yard and trees home.

Unfortunately, we did lose one of the three robin fledglings — we aren’t sure if a cat got the robin, or the cold — however, three of the young survived (to our knowledge).

baby robin fledglings

While many of our friends and family still have robin fledglings in the nest, our robins have flown the coup! Before they were developed, it was so funny to watch them try to take flight with small wings and no tail. Clearly they’ve grown in the last few weeks, and we’ll try to capture more photos as we go.

Watching the baby robin fledglings in our yard has certainly been an education; when they’re young, robins are defenceless. They’re yet to learn how to fly (we were blessed enough to watch them practice in our yard), they’re dependant on their parents (Dad brings the young to the robin roost at night, while Mama Robin feeds the fledglings by day), and they’re testing their vocal chords (hearing robin fledglings start to exercise their vocal chords is one of the most adorable sounds).

Hint to those who’ve built a robin’s nesting shelf: When your first “family” leaves the nest, be sure to dispose of the robin’s nest, clean and spray off the area. Once abandoned for their real world adventure, robins don’t return to the nest where they were birthed. The old nest can attract lice and mites, so it’s best practice to dispose of it once the robins leave the nest for good.