Hope’s How-To | Dry Lay Stone Border
Written by H, Posted in Gardening, Hope's How-To
Several of you have asked why we haven’t shared any photos of what we’ve been working on in our garden and yard so far this year. Well, friends, it’s been a full summer! Wes and I have both commented to each other several times that we feel that we’ve hardly had any time to be at home this summer and just… be. Anyone else with us?!
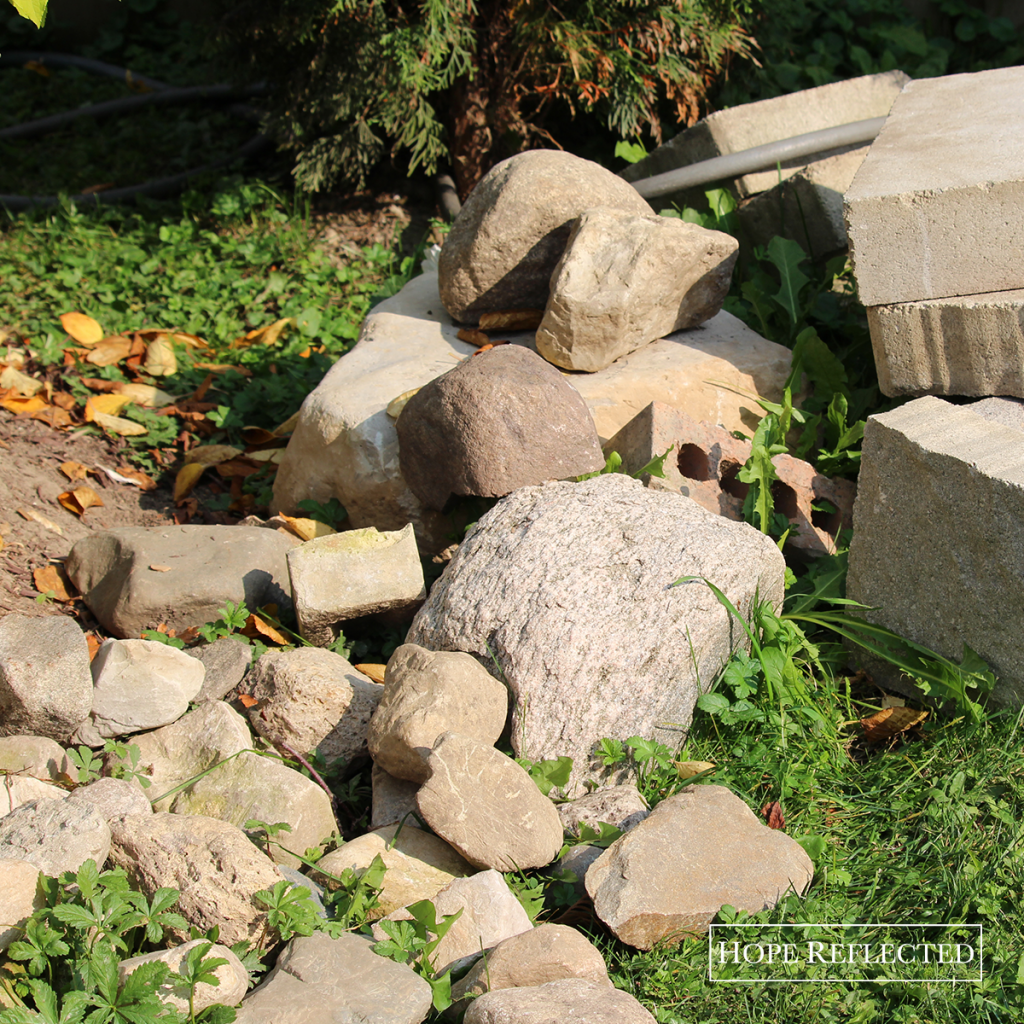
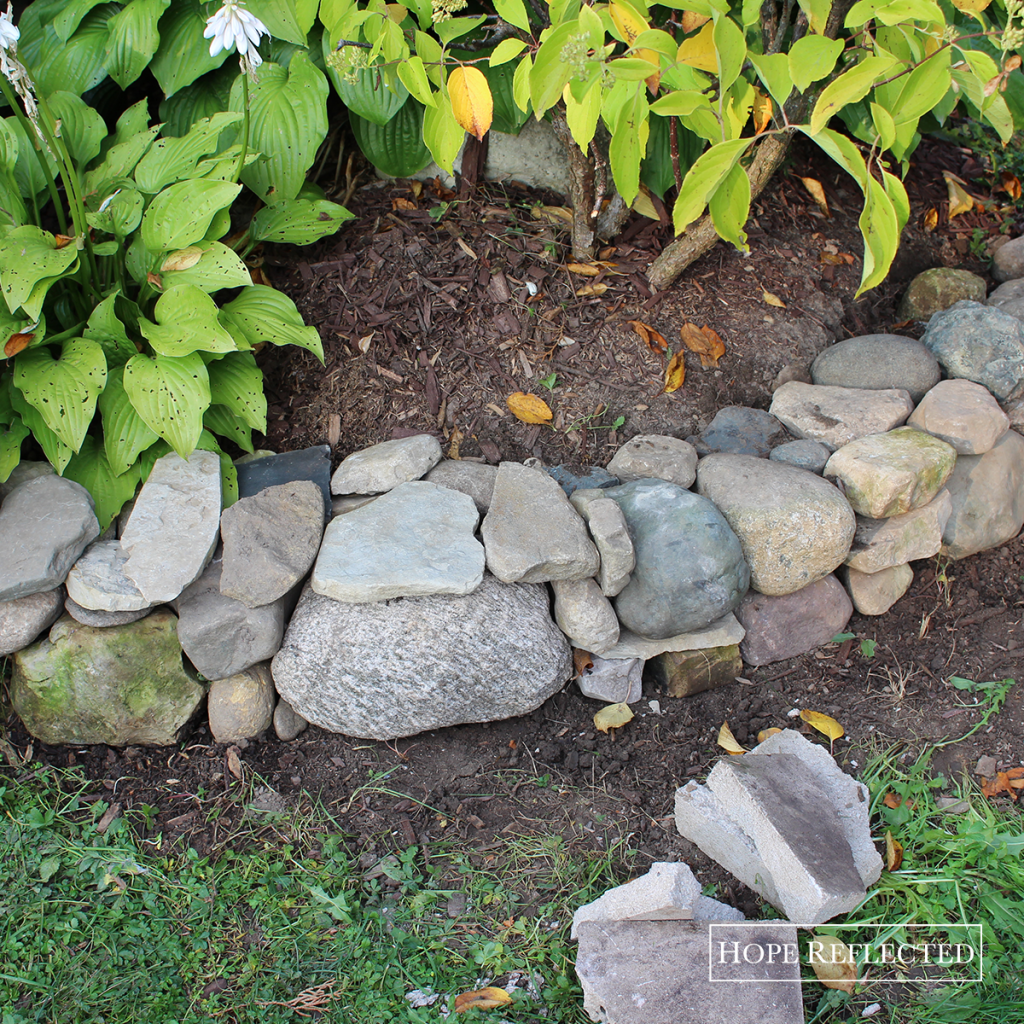
This past weekend, we were able to enjoy a brief respite from the world and spend some time outside in the garden and yard. Wes was able to get started on the next stone border in our garden, and I must say, it’s looking so beautiful I just had to share some pictures. Check out the “before” photo below.
If you’ve been following along with our blog, you’ve already seen photos of the garden stone border that Wes completed last summer. Well, this summer, between concentrating on our hedge and planting more cedars, we’ve had little time to dedicate to finishing the dry lay stone border on the south side of our garden.
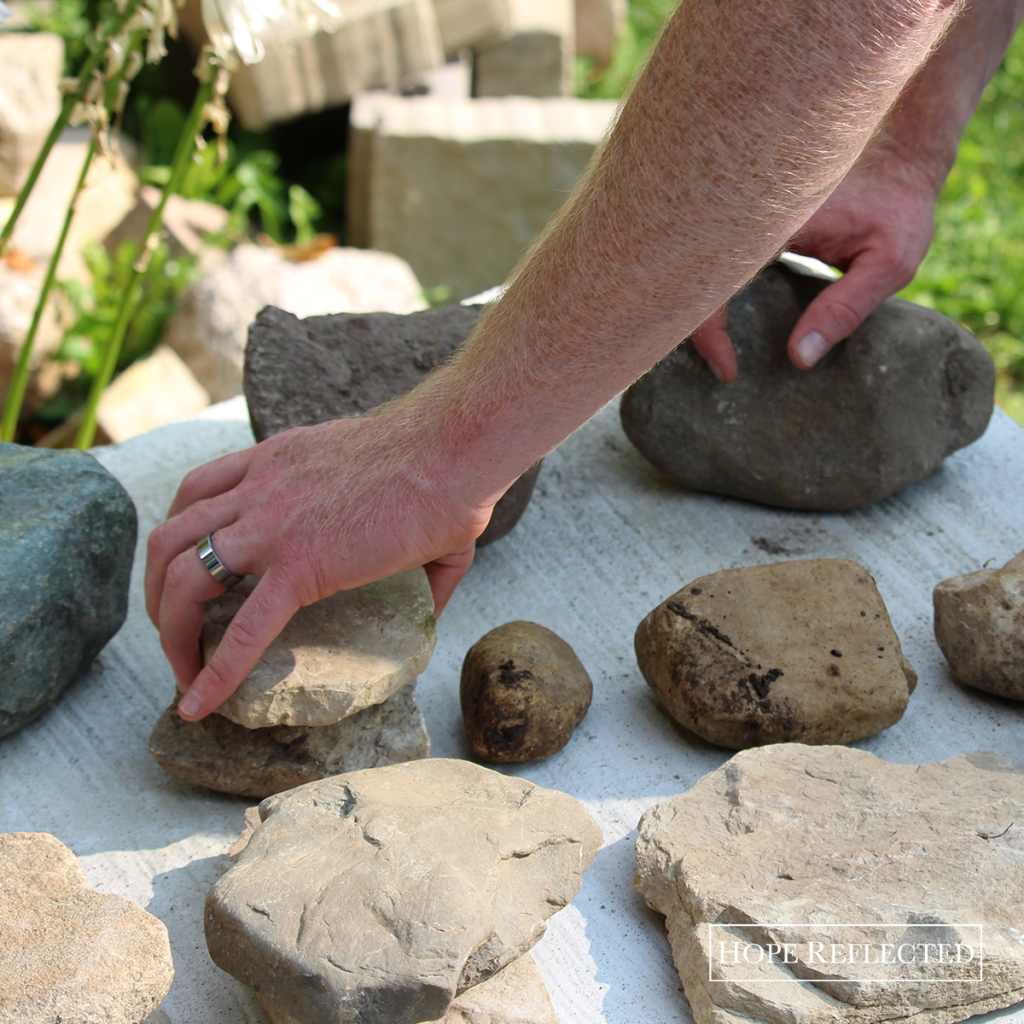
This past weekend, Wes went to work sorting stones and carving out the foundation for our latest dry lay stone border around the garden.
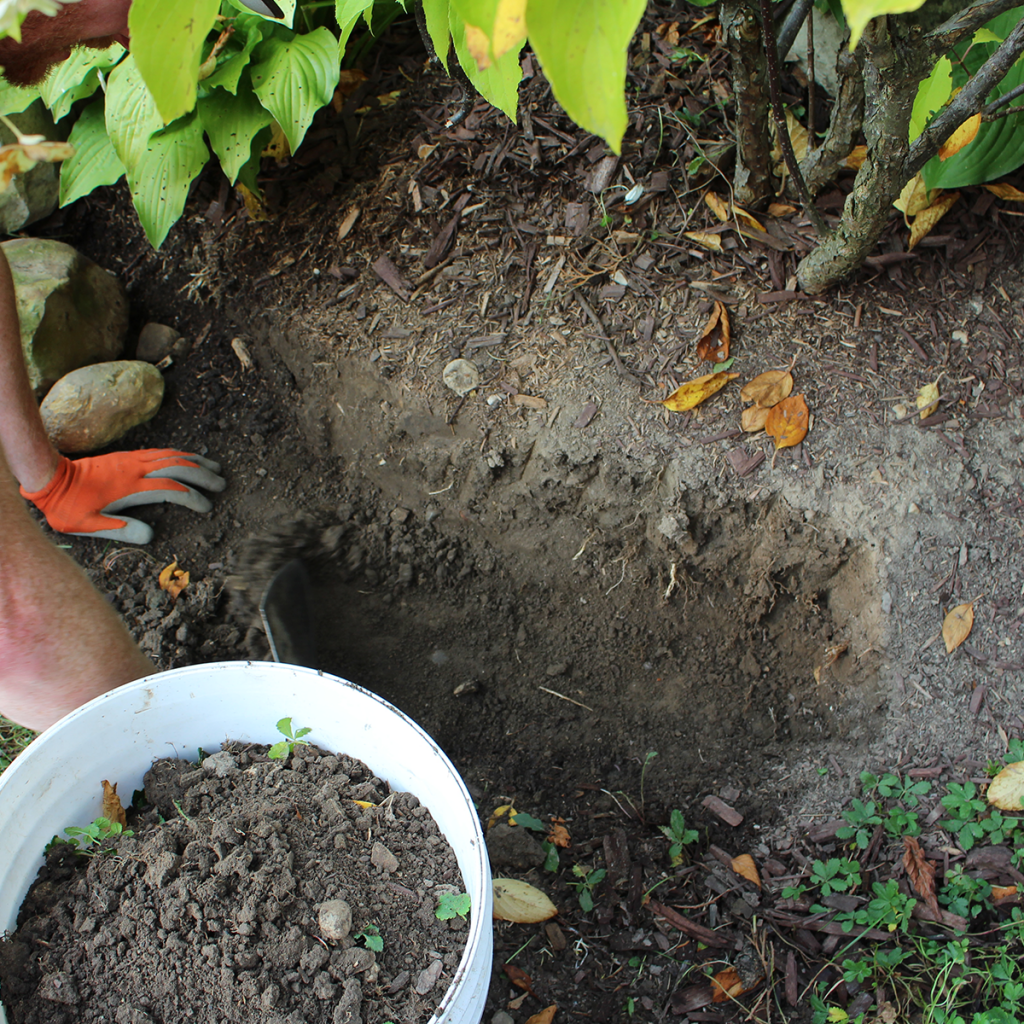
Wes started by cutting back the dirt bank about 10 inches to accommodate for the dry lay stone border. He dug out at an angle so there was positive slope towards the flower bed, which ensures that the stone actually sits into the bed rather than leaning out from the flower bed.
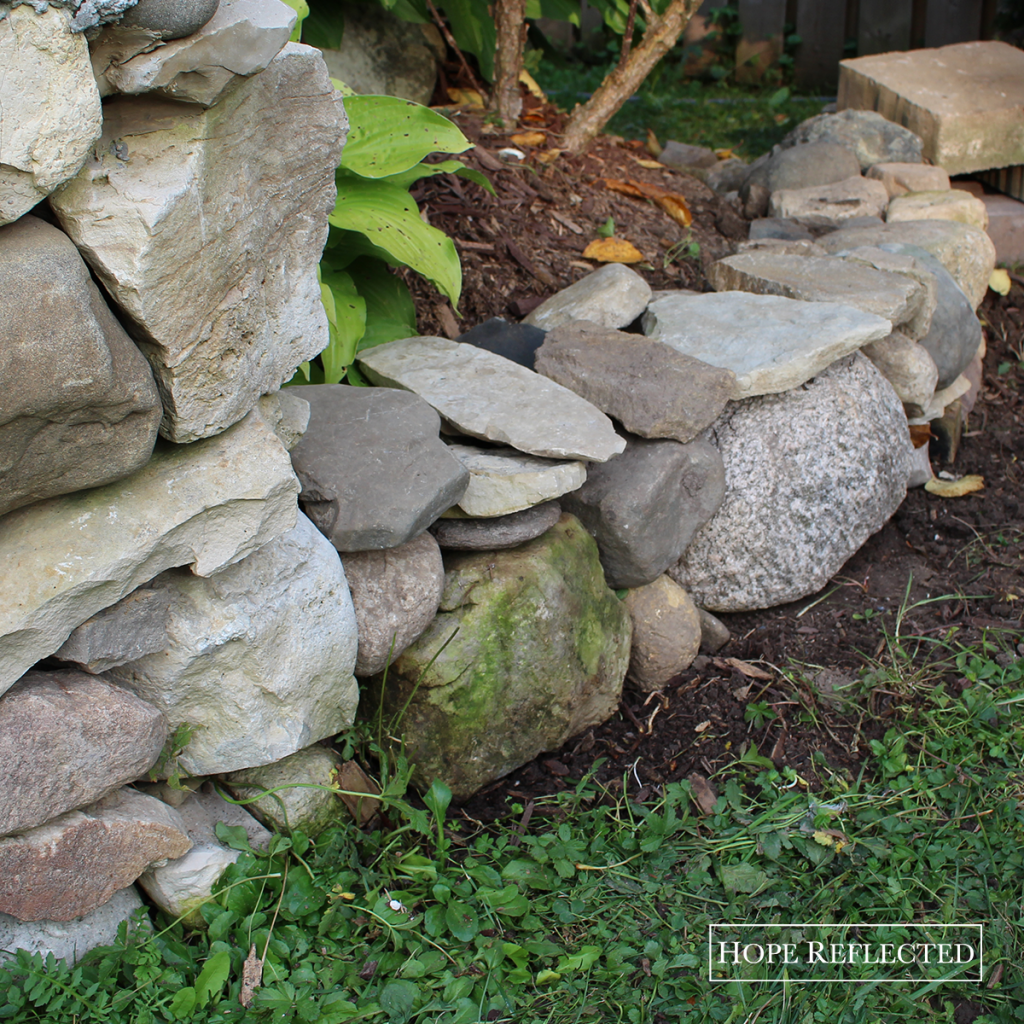
He placed the larger stones after taking a full inventory of the stones he had to work with (see photo above), and went to great lengths to place them evenly throughout the border wall. There was definitely some trial and error involved with creating the dry lay stone border. As Wes noted, the nice thing about this kind of application is that it does not have to be permanent; stones can be adjusted and moved if you get looking at them and feel you don’t that you don’t like the placement. In fact, areas can be entirely dismantled and reassembled to your liking. That’s the beauty of creating a dry lay stone bench or stone border for your garden! Wes says to think of the stones that you already have in your possession as pieces to your puzzle. There will be stones that sit better together; you just have to take the time to find them and to make the pieces work.
For us, this latest garden stone border project already makes a beautiful addition to our yard. Our latest border helps balance out the rest of the border around the garden. I love how Wes placed some of the larger stones evenly throughout the first level, and how he was so careful with the colour placement of the stones as well. I can’t wait to see the finished product!
Check out more photos of our DIY stone projects, stone garden benches, and stone borders and let us know what you think!



![False friends or counterfeit kindness; whatever you want to call it, the world is filled with people who will say one thing to your face and then another behind your back; people who will woo you in order to get something from you.
It’s sad, but it’s true.
The Bible provides us with examples from Joab to Judas, and yet, we’re surprised when we find ourselves deceived and hurt by someone else.
So what are some of the hallmarks of a true friend?
You can read more about this on hopereflected.com [Link in profile]
.
.
.
#friends #friendship #kindness #counterfeitkindness #hurt #proverbs #truefriends #hopereflected #blog #blogpost](https://www.hopereflected.com/wp-content/plugins/instagram-feed/img/placeholder.png)